A Timed Message is a message that pops up after someone has spent a bit of time on your page. It’s a gentle way to catch their attention without interrupting their experience.
It helps you connect with visitors right when they’re engaged, making it easier to share an offer, encourage a signup, or guide them to take the next step.
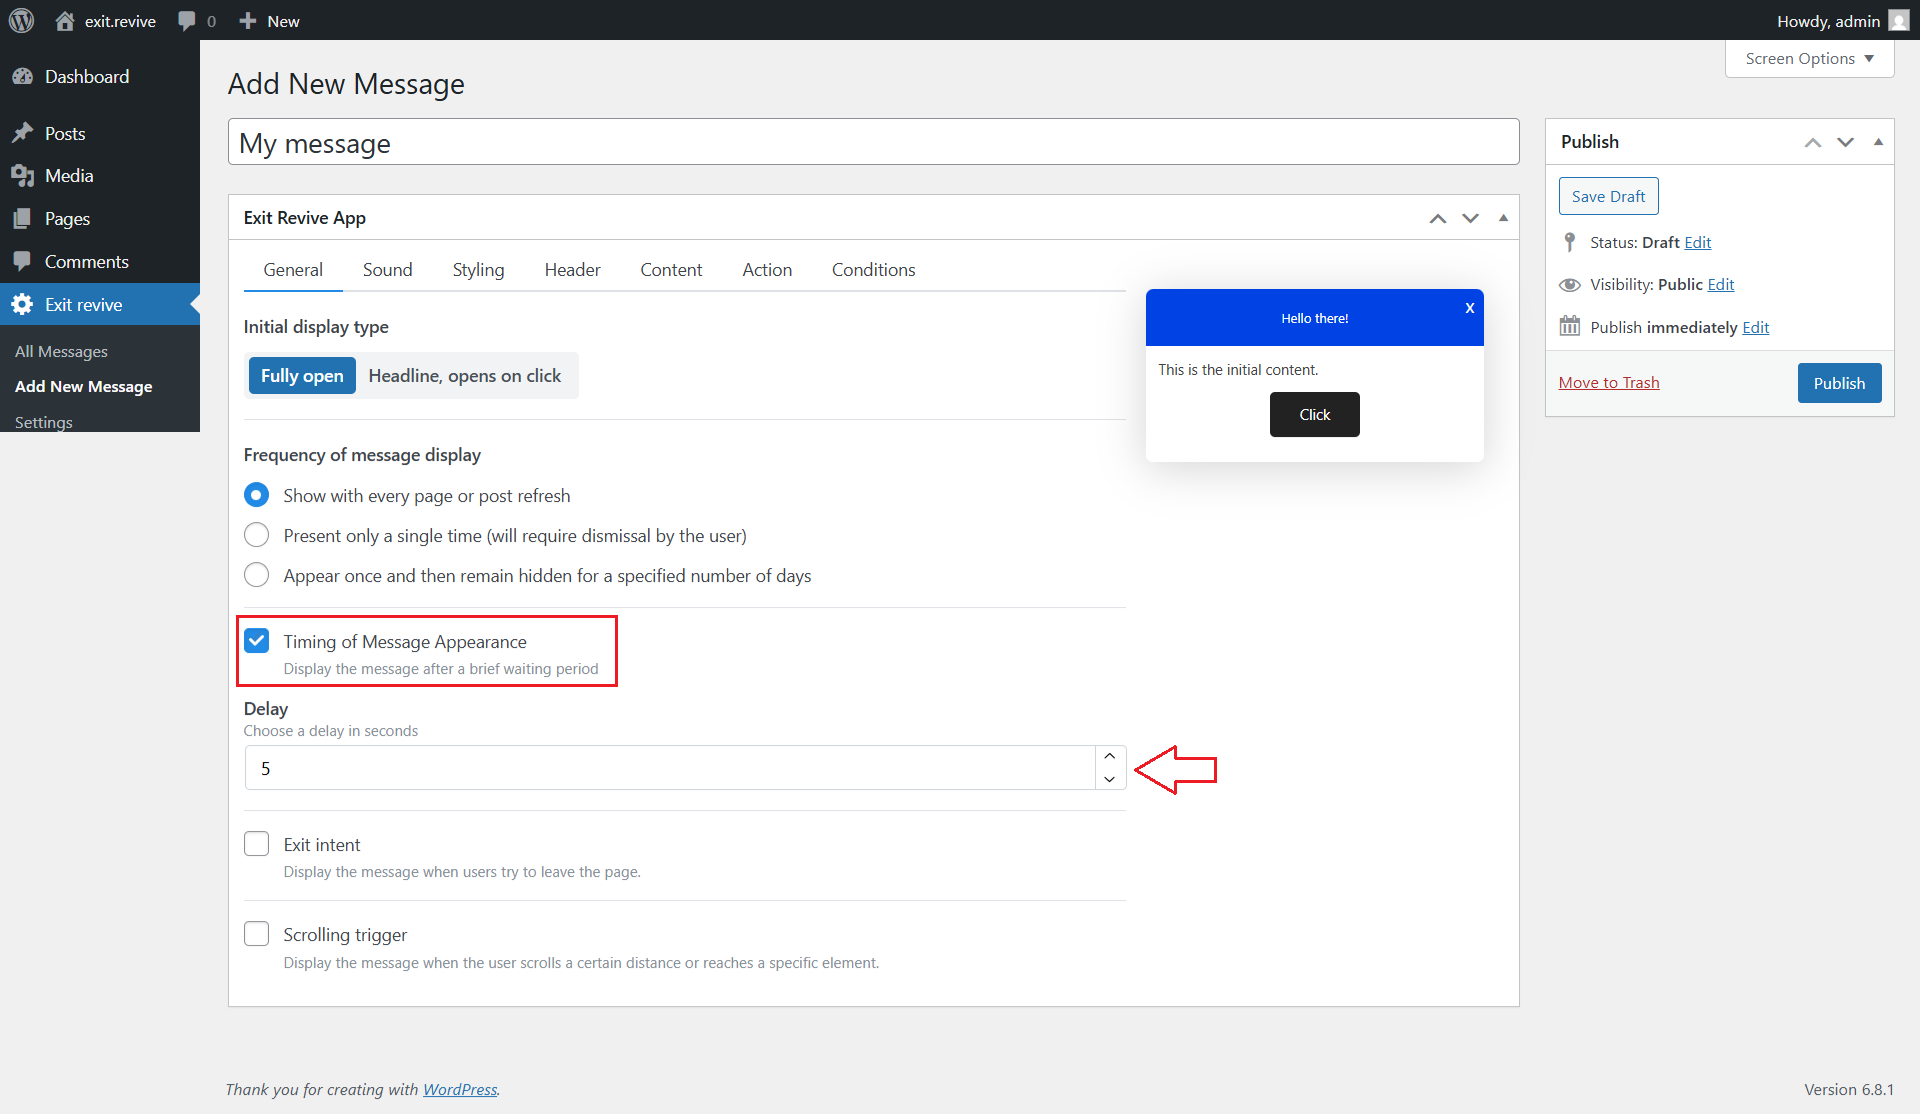
Here’s how to create a timed message with Exit Revive
-
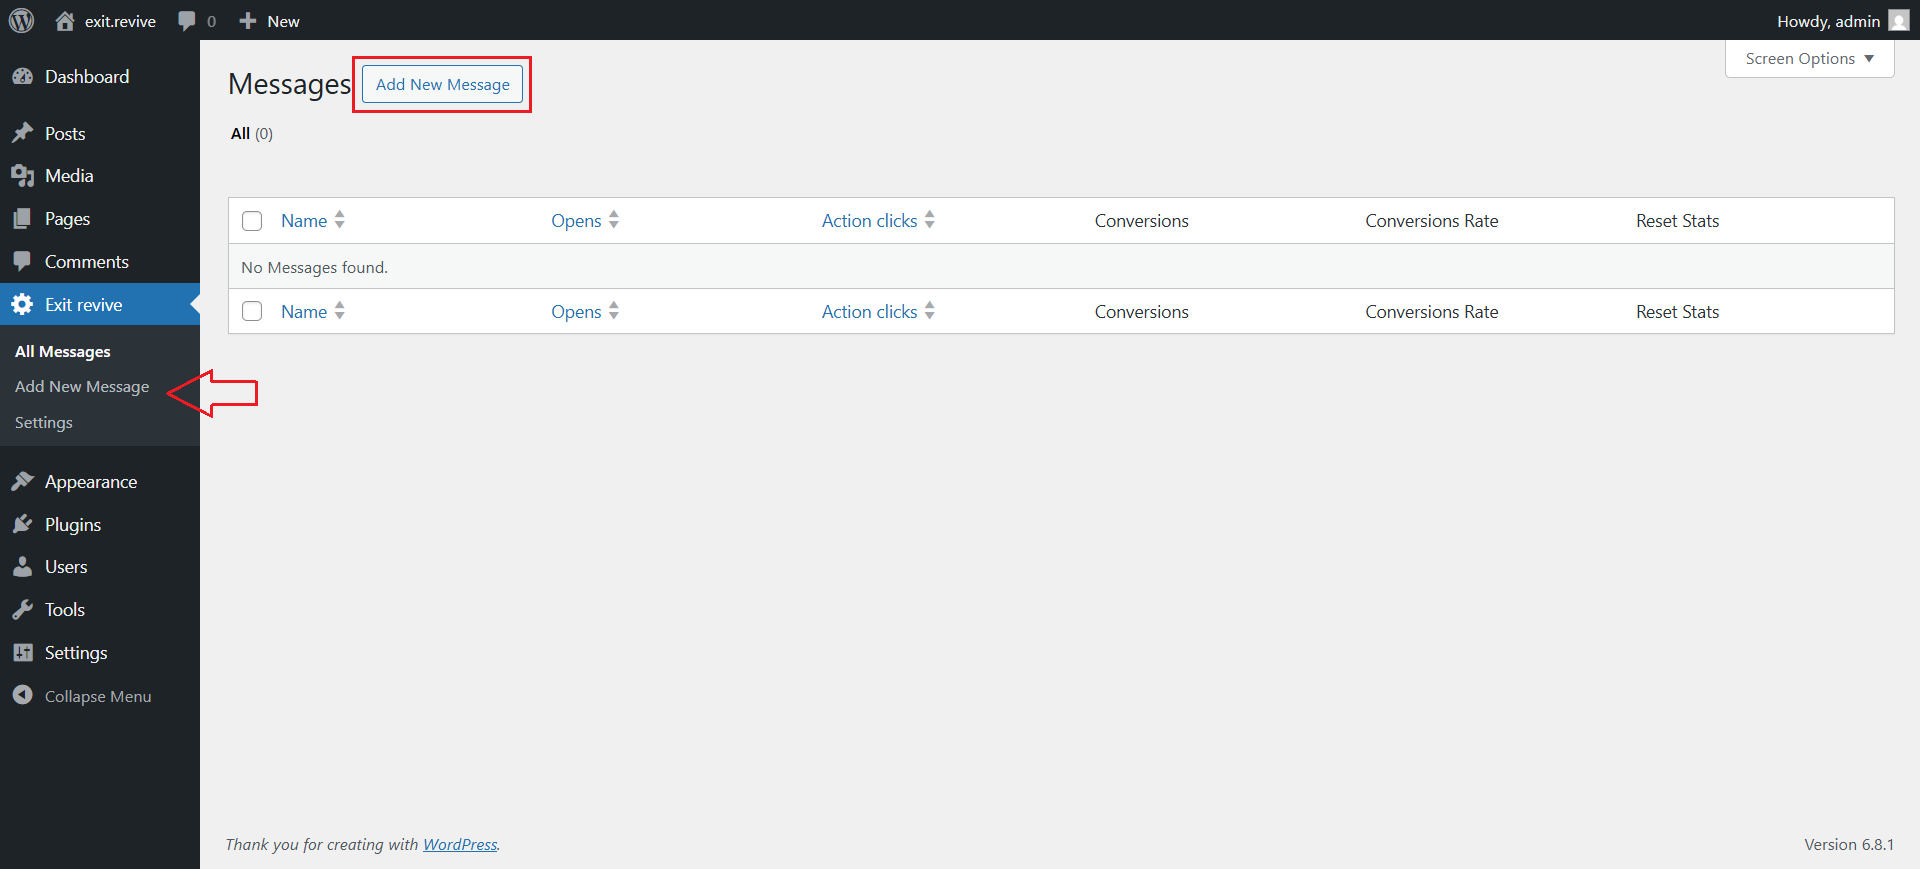
Head over to your WordPress dashboard > Exit Revive > Add new message

-
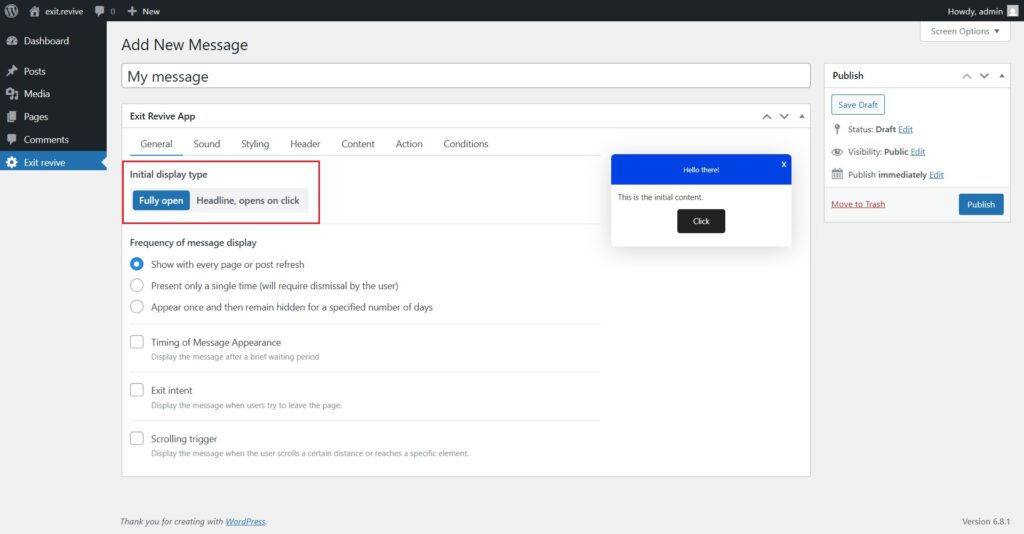
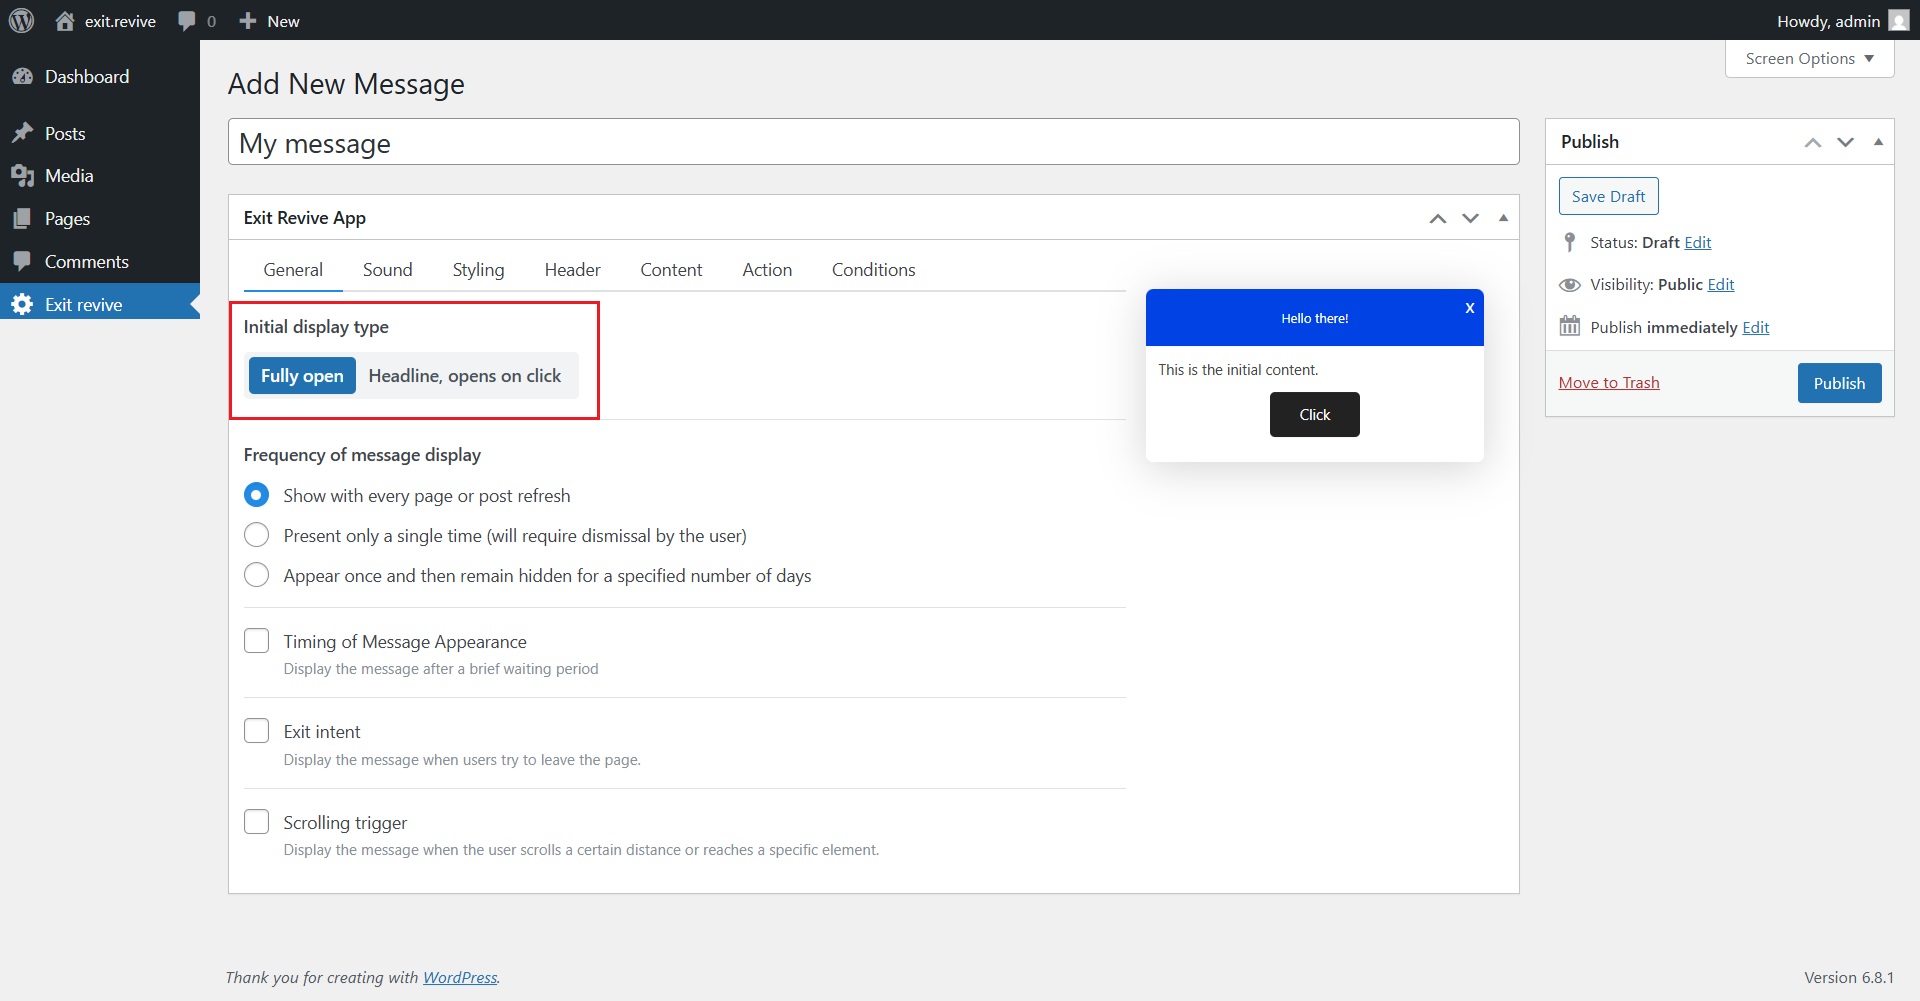
Add a name for your message at the top (e.g., “My message”) for internal reference and Choose Initial Display Type. Under “Initial display type”, select either:
- Fully open – message appears expanded automatically
- Headline, opens on click – only a headline shows until clicked
-
Select Frequency of Message Display
Choose how often the message should appear:- Every page refresh
- Only once
- Once, then hidden for X days

-
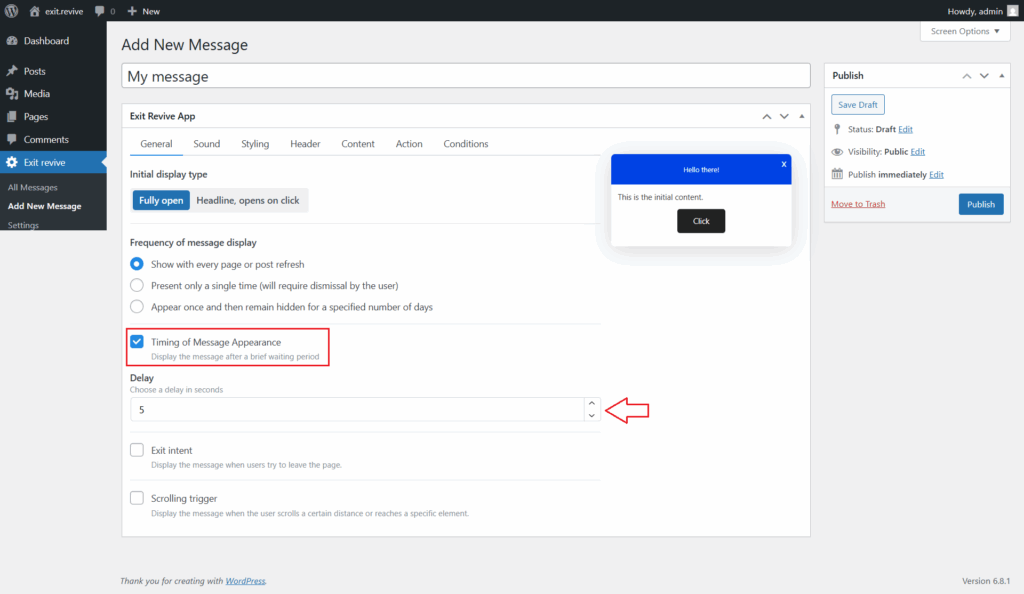
Go to the General tab and Check the box for “Timing of Message Appearance” to enable the delay. After that select how often you want the message to appear.
-
Customize Message Content
Use the tabs (Sound, Styling, Header, Content, etc.) to personalize your message. -
When you’re ready, click the “Publish” button on the right.

That’s it! Your message will now appear a few seconds after a visitor lands on the page.